Engine
Engines, gear train, sail drive and props, plus fuel and engine electrics
Replacement of the sail-drive gaiter is a recurring task for Maxi owners and one that is costly through a yard. Malcolm (Denny) Denham has done it himself on his Maxi 1100 and has kindly shared with the group his experience. The pdf file below includes the lessons learned and has pictures through the procedure while the Excel file includes materials used and time taken.
https://maxiowners.net/wp-content/uploads/2022/04/Saildrive-diaphragm-replacement.pdf
https://maxiowners.net/wp-content/uploads/2022/04/Saildrive-diaphragm-change.xlsx
Many thanks Denny for sharing with the group.
There has been much discussion in the sailing media and the MOA WhatsApp group about biodiesel and diesel additives. From the WhatsApp group, it appears we have an expert in our membership with Malcolm Denham having written an article on biodiesel which appeared in Cruising Magazine in December 2021 www.theca.org.uk. Please find here a link to the article reproduced with their permission.
https://maxiowners.net/wp-content/uploads/2022/04/Cruising-Dec-21-HVOs-final.pdf
 I keep Lookin Foor Kloos on the Lymington river and for some years have been using Trilux antifoul on the propeller. While this has represented an improvement in fouling vs just polishing the prop, I was still noticing a significant slow down in performance under motor come the end of the season and some growth of worm when the boat was lifted.
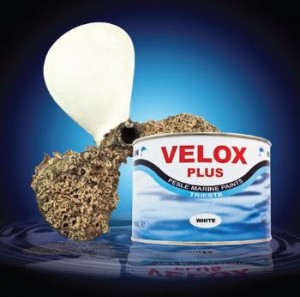
Last season, I was getting the boat ready on the yard and a neighbour was praising the virtues of Velox Plus, an Italian antifoul paint and gave me the remains of his tins of primer and antifoul which I gratefully received and used.
So, how did it perform? I must say that the results have been very positive. I re-launched Lookin Foor Kloos in late March and lifted her on August 20th for a scrub prior to a cross channel race. While the hull was a little slimed which washed off easily, the prop came out brilliant white with no fouling at all. The yard commented that most of the boats lifted had had quite some fouling on the propeller so they were surprised.
Re-launched, the prop. Still appears to have remained clean of foul – I will see what it looks like when lifted again in May.
Details of Velox Plus can be found here at www.marlinpaint.com and is available from Marinescene for £36 for the antifoul and primer.

Volvo MD2030 Exhaust Riser/Elbow
Does your engine suffer from lack of power, unable to obtain maximum revs?
We bought a “pre owned” Maxi 1100 – “Maxi Magic” from SD Marine. Whilst she is a very quick boat under sail, the same could not be said when she was motoring. Having sailed through most of the boats out in
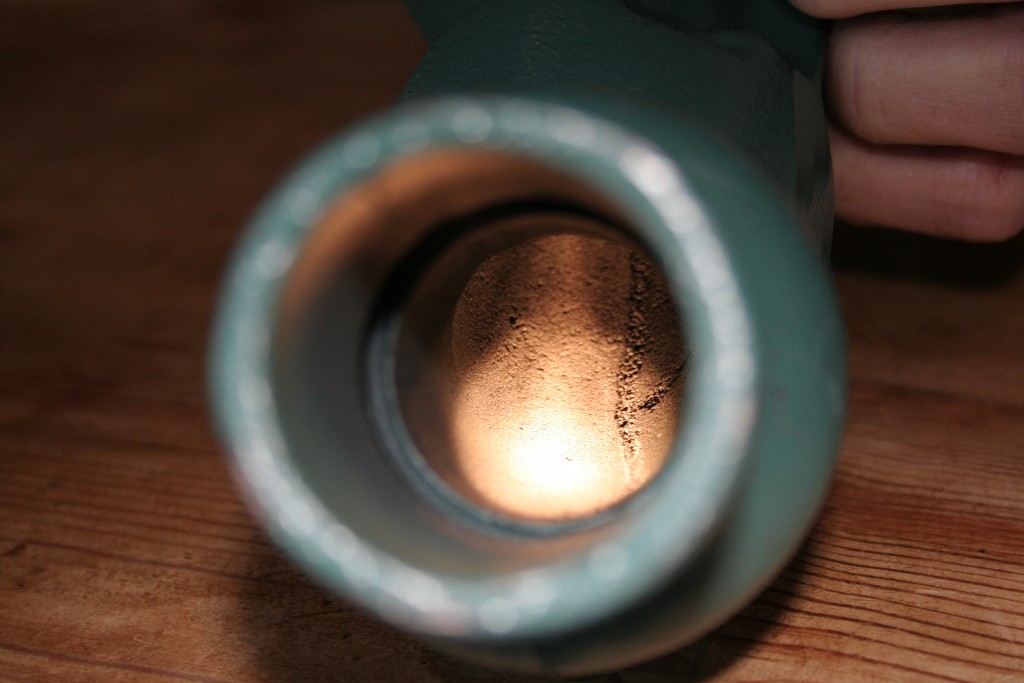
We had noticed that we could only get a maximum of 2800 RPM out of the engine under load, where as on our previous boat, a Maxi 34 “Eye of Horus” we could get 3400 RPM. The difference in RPM was initially put down to only having a two bladed fixed prop on the 34 as opposed to the three bladed folding on the 1100 and an extra two tons weight difference. Based on our engine experience with the Maxi 34, I took the opportunity in the autumn to remove/inspect the exhaust riser. Having removed the riser it was no surprise to find that approximately 1/3rd of the inner sleeve (where the raw water mixes with the exhaust gas) had corroded away and the main bore had been reduced from 35mm diameter to 7mm diameter (see photo – just enough to get a pencil through!) by the build up of carbon and salt.


Inlet-Old unit with pencil sized opening New unit with 35mm bore
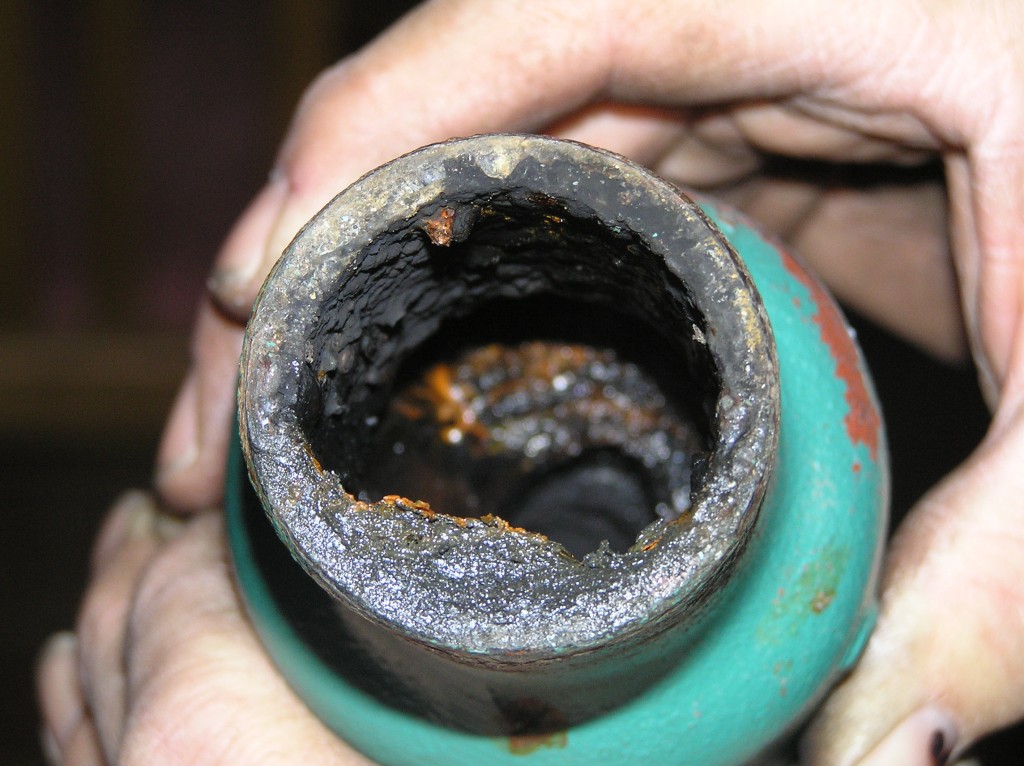
Outlet-Old unit with corroded water gallery New unit
In my opinion there is no point in trying to salvage a riser in this state so it was off to the local Volvo agents for a new one (£160 plus £4 for the gasket). (Looking around the internet I did not find any at a materially better price). If you do try and clean/salvage an exhaust riser be very careful of the inner sleeve/water gallery, as although it may be intact, it will probably be rotten and will break up if any force is applied to it.
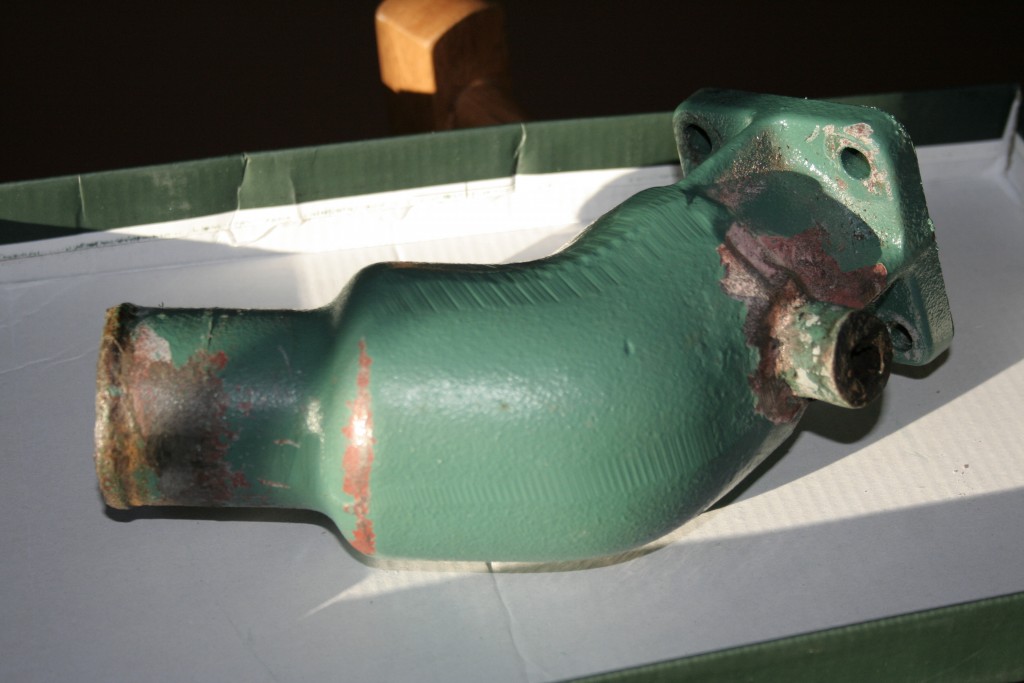
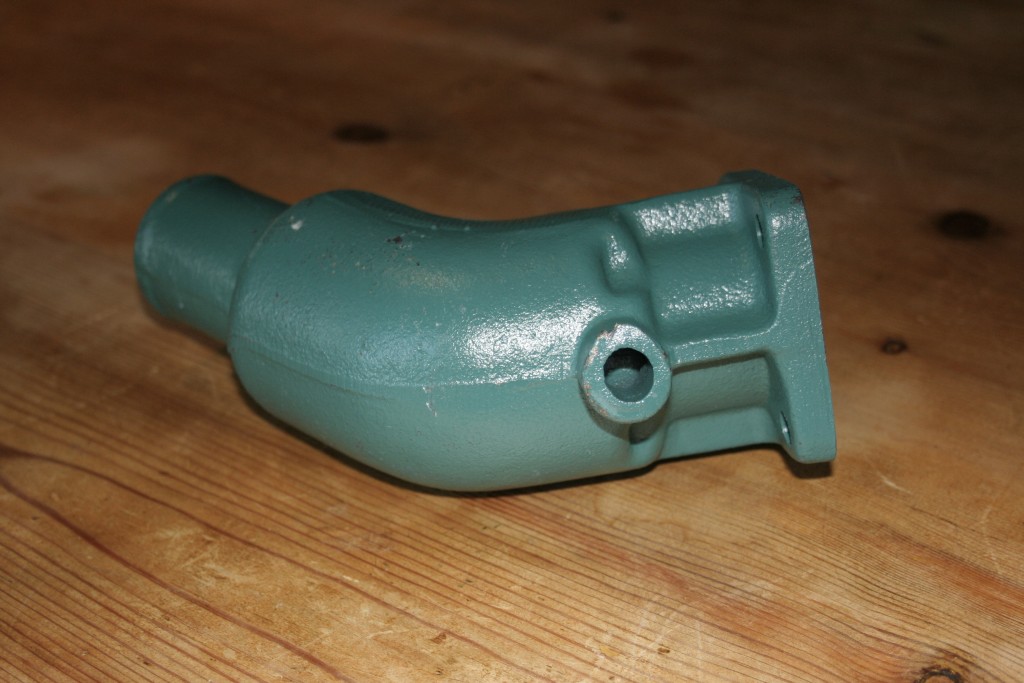
Outside View Old unit does not look so bad from the outside!
Having fitted the new exhaust riser we took her out for a sea trial and at full throttle got 3350 RPM. That should be enough to see off the other boats motoring back into
On a more serious note, I would recommend that you check the exhaust riser after say 600/700 engine hours (Maxi Magic had done 1100 hours). I considered getting a stainless steel riser fabricated, however, apart from the estimated cost (£250), talking to other people about their experiences with stainless risers, the sulphur in the exhaust corrodes the stainless and stainless cannot absorb the thermal shock (cold sea water and hot exhaust gas) as well as cast iron. Also when stainless cracks you will get a hole whereas cast iron will tend to weep.
Removing the exhaust hose from the riser is a bit of a chore. I used a blunt screw driver and gradually worked it into the joint, taking care not to tear the rubber pipe, and it took about 30 minutes to release. To make it easier to remove the hose in the future, I wrapped the outlet of the new riser in PTFE tape.
Having checked our fuel consumption, this has improved, and the tiny bit of hunting that we had at tick over has now gone. A job well worth doing.
Rob Ware – Maxi Magic

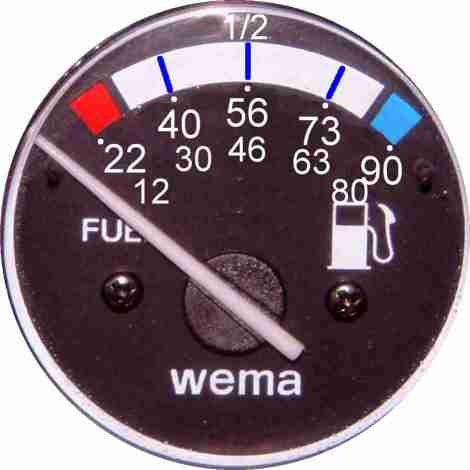 I recently had to service my fuel level sensor and took the opportunity to measure my diesel fuel tank and fuel sensor characteristics. I also measured the tank level to fuel gauge calibration, the graph below shows the Fuel-gauge reading verses the fuel level. Conclusion -The fuel sensor only starts to register the fuel level when the level reaches 23 Litres of fuel (When the fuel-sensor-float starts to float). This corresponds to the gauge level at the left of the RED band. The gauge rises reasonably linearly until the sensor gets to maximum at 90 Litres (When the float hits the top of the sensor travel), this corresponds to the gauge at the right of the BLUE band. The 1/4, 1/2 and 3/4 positions are equally spaced across the whole of the gauge scale. That is between the left of the RED band to the RIGHT of the BLUE band.